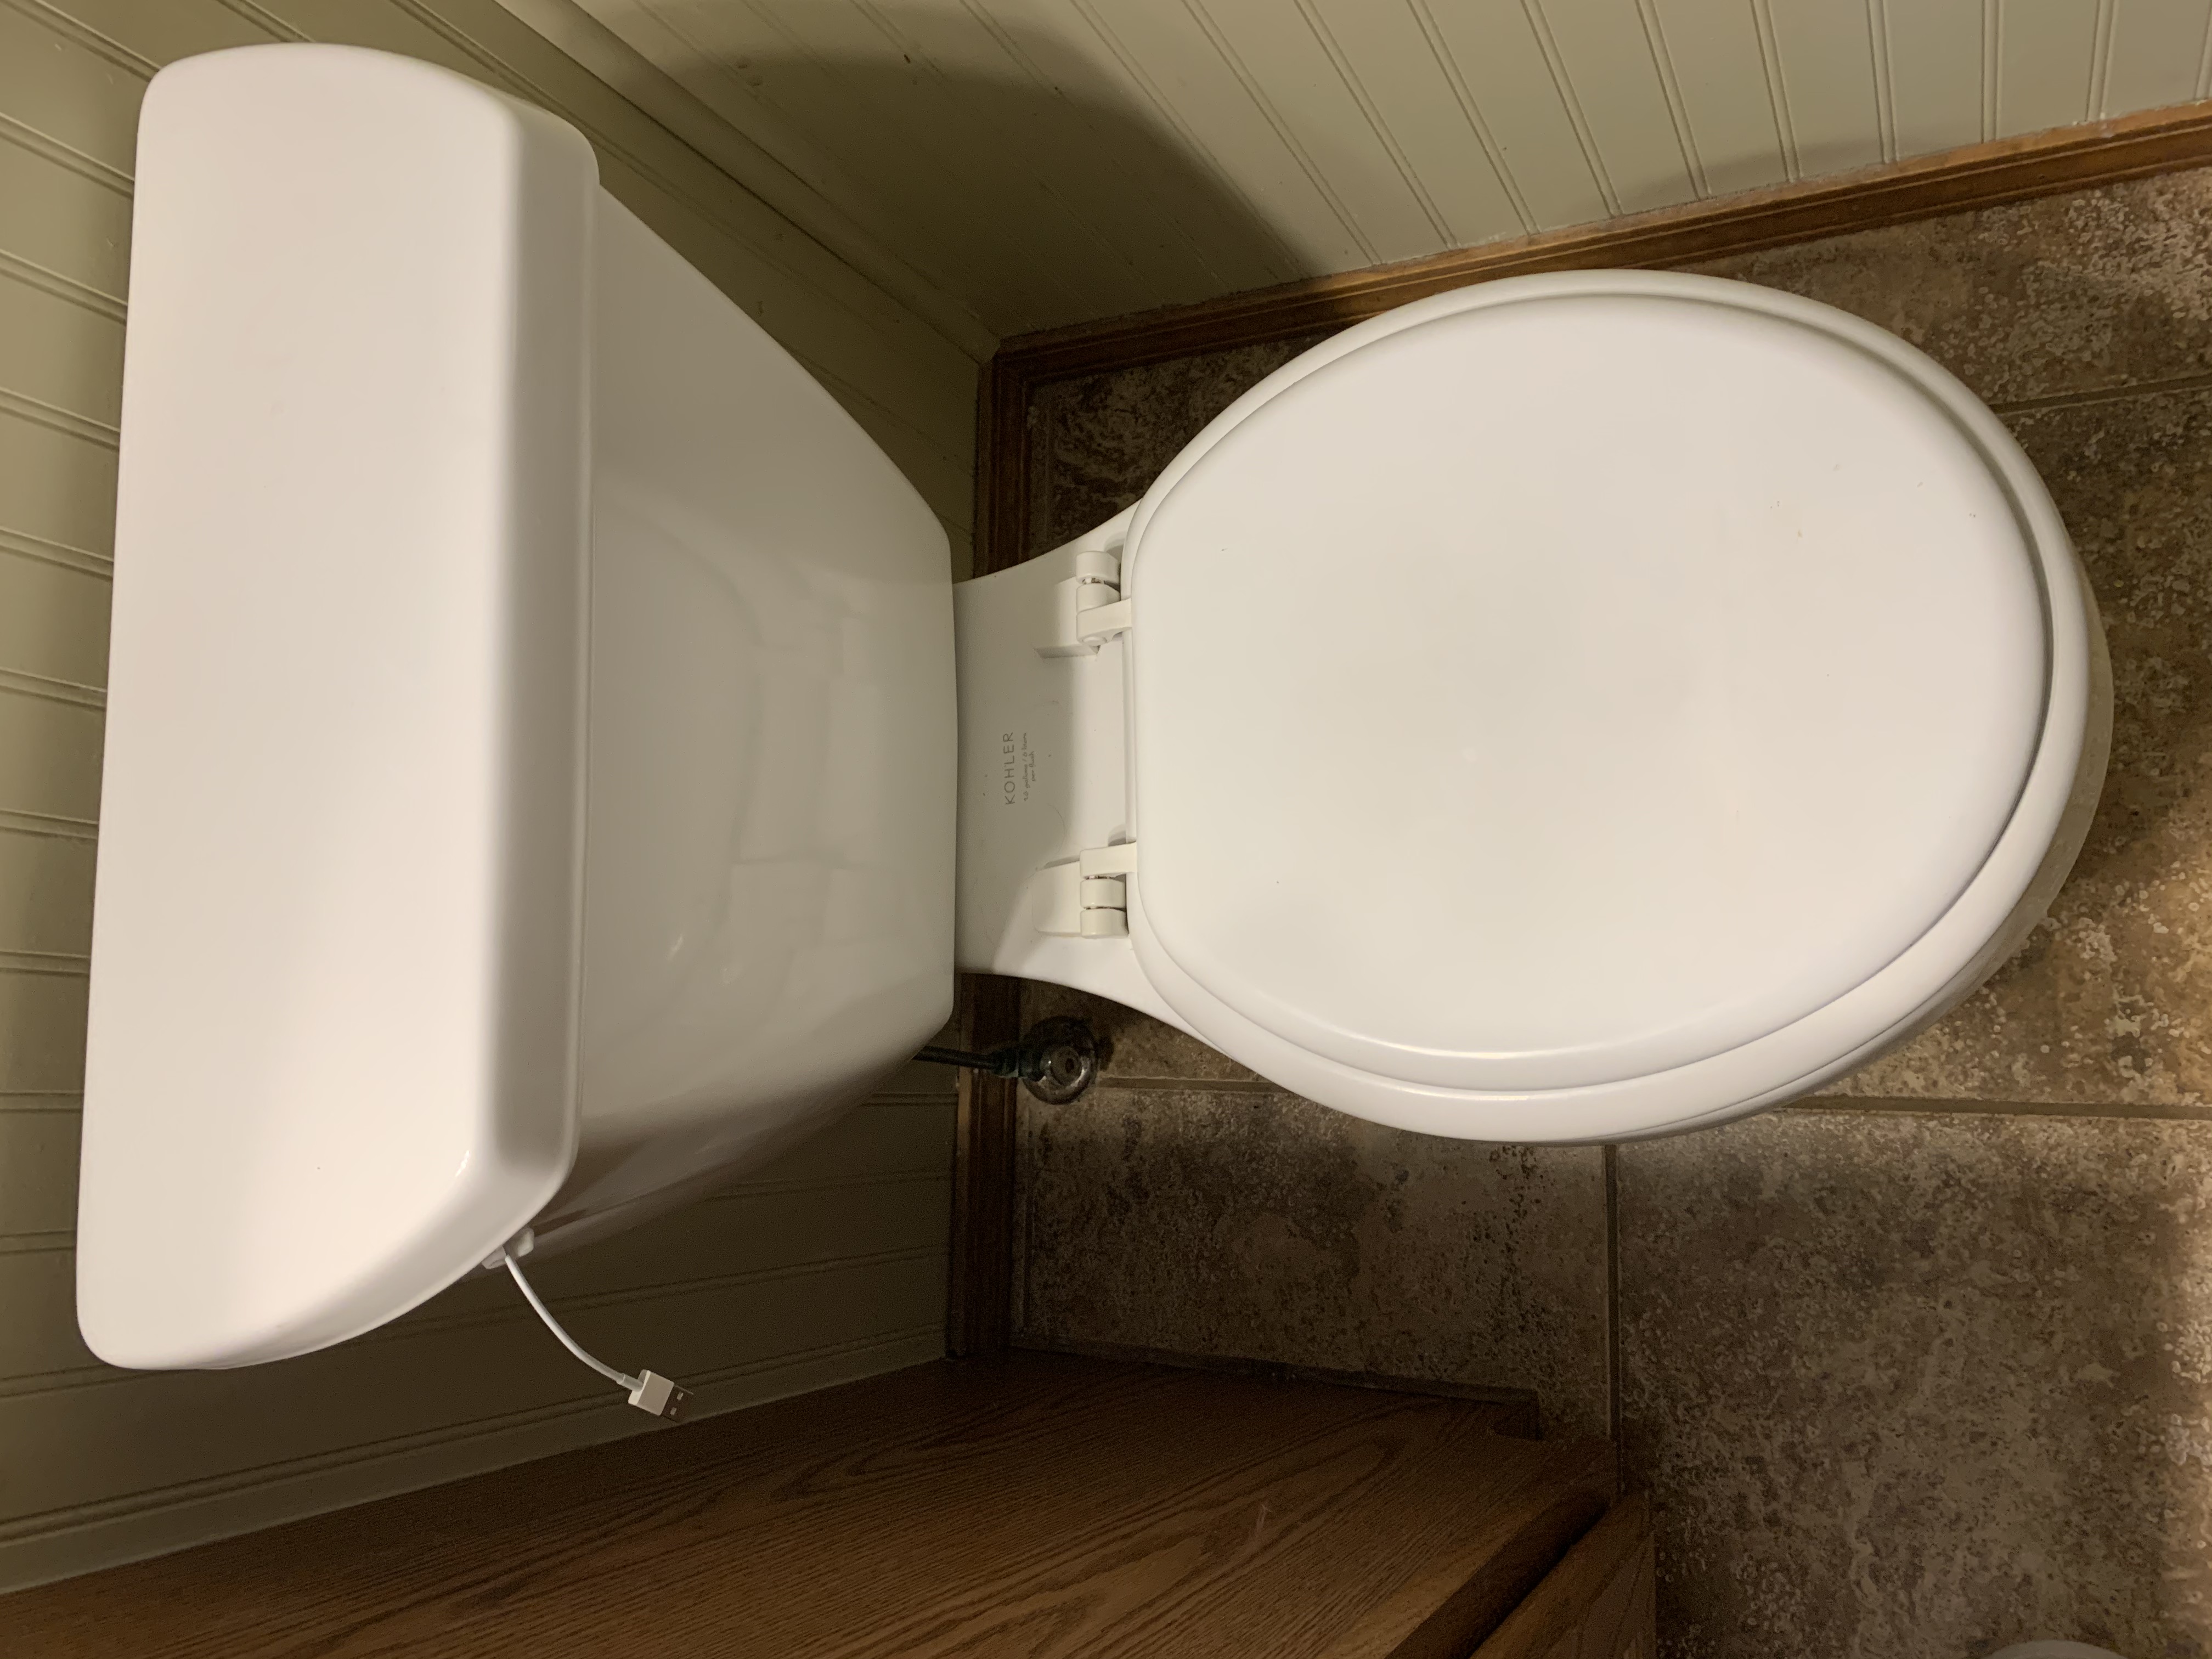
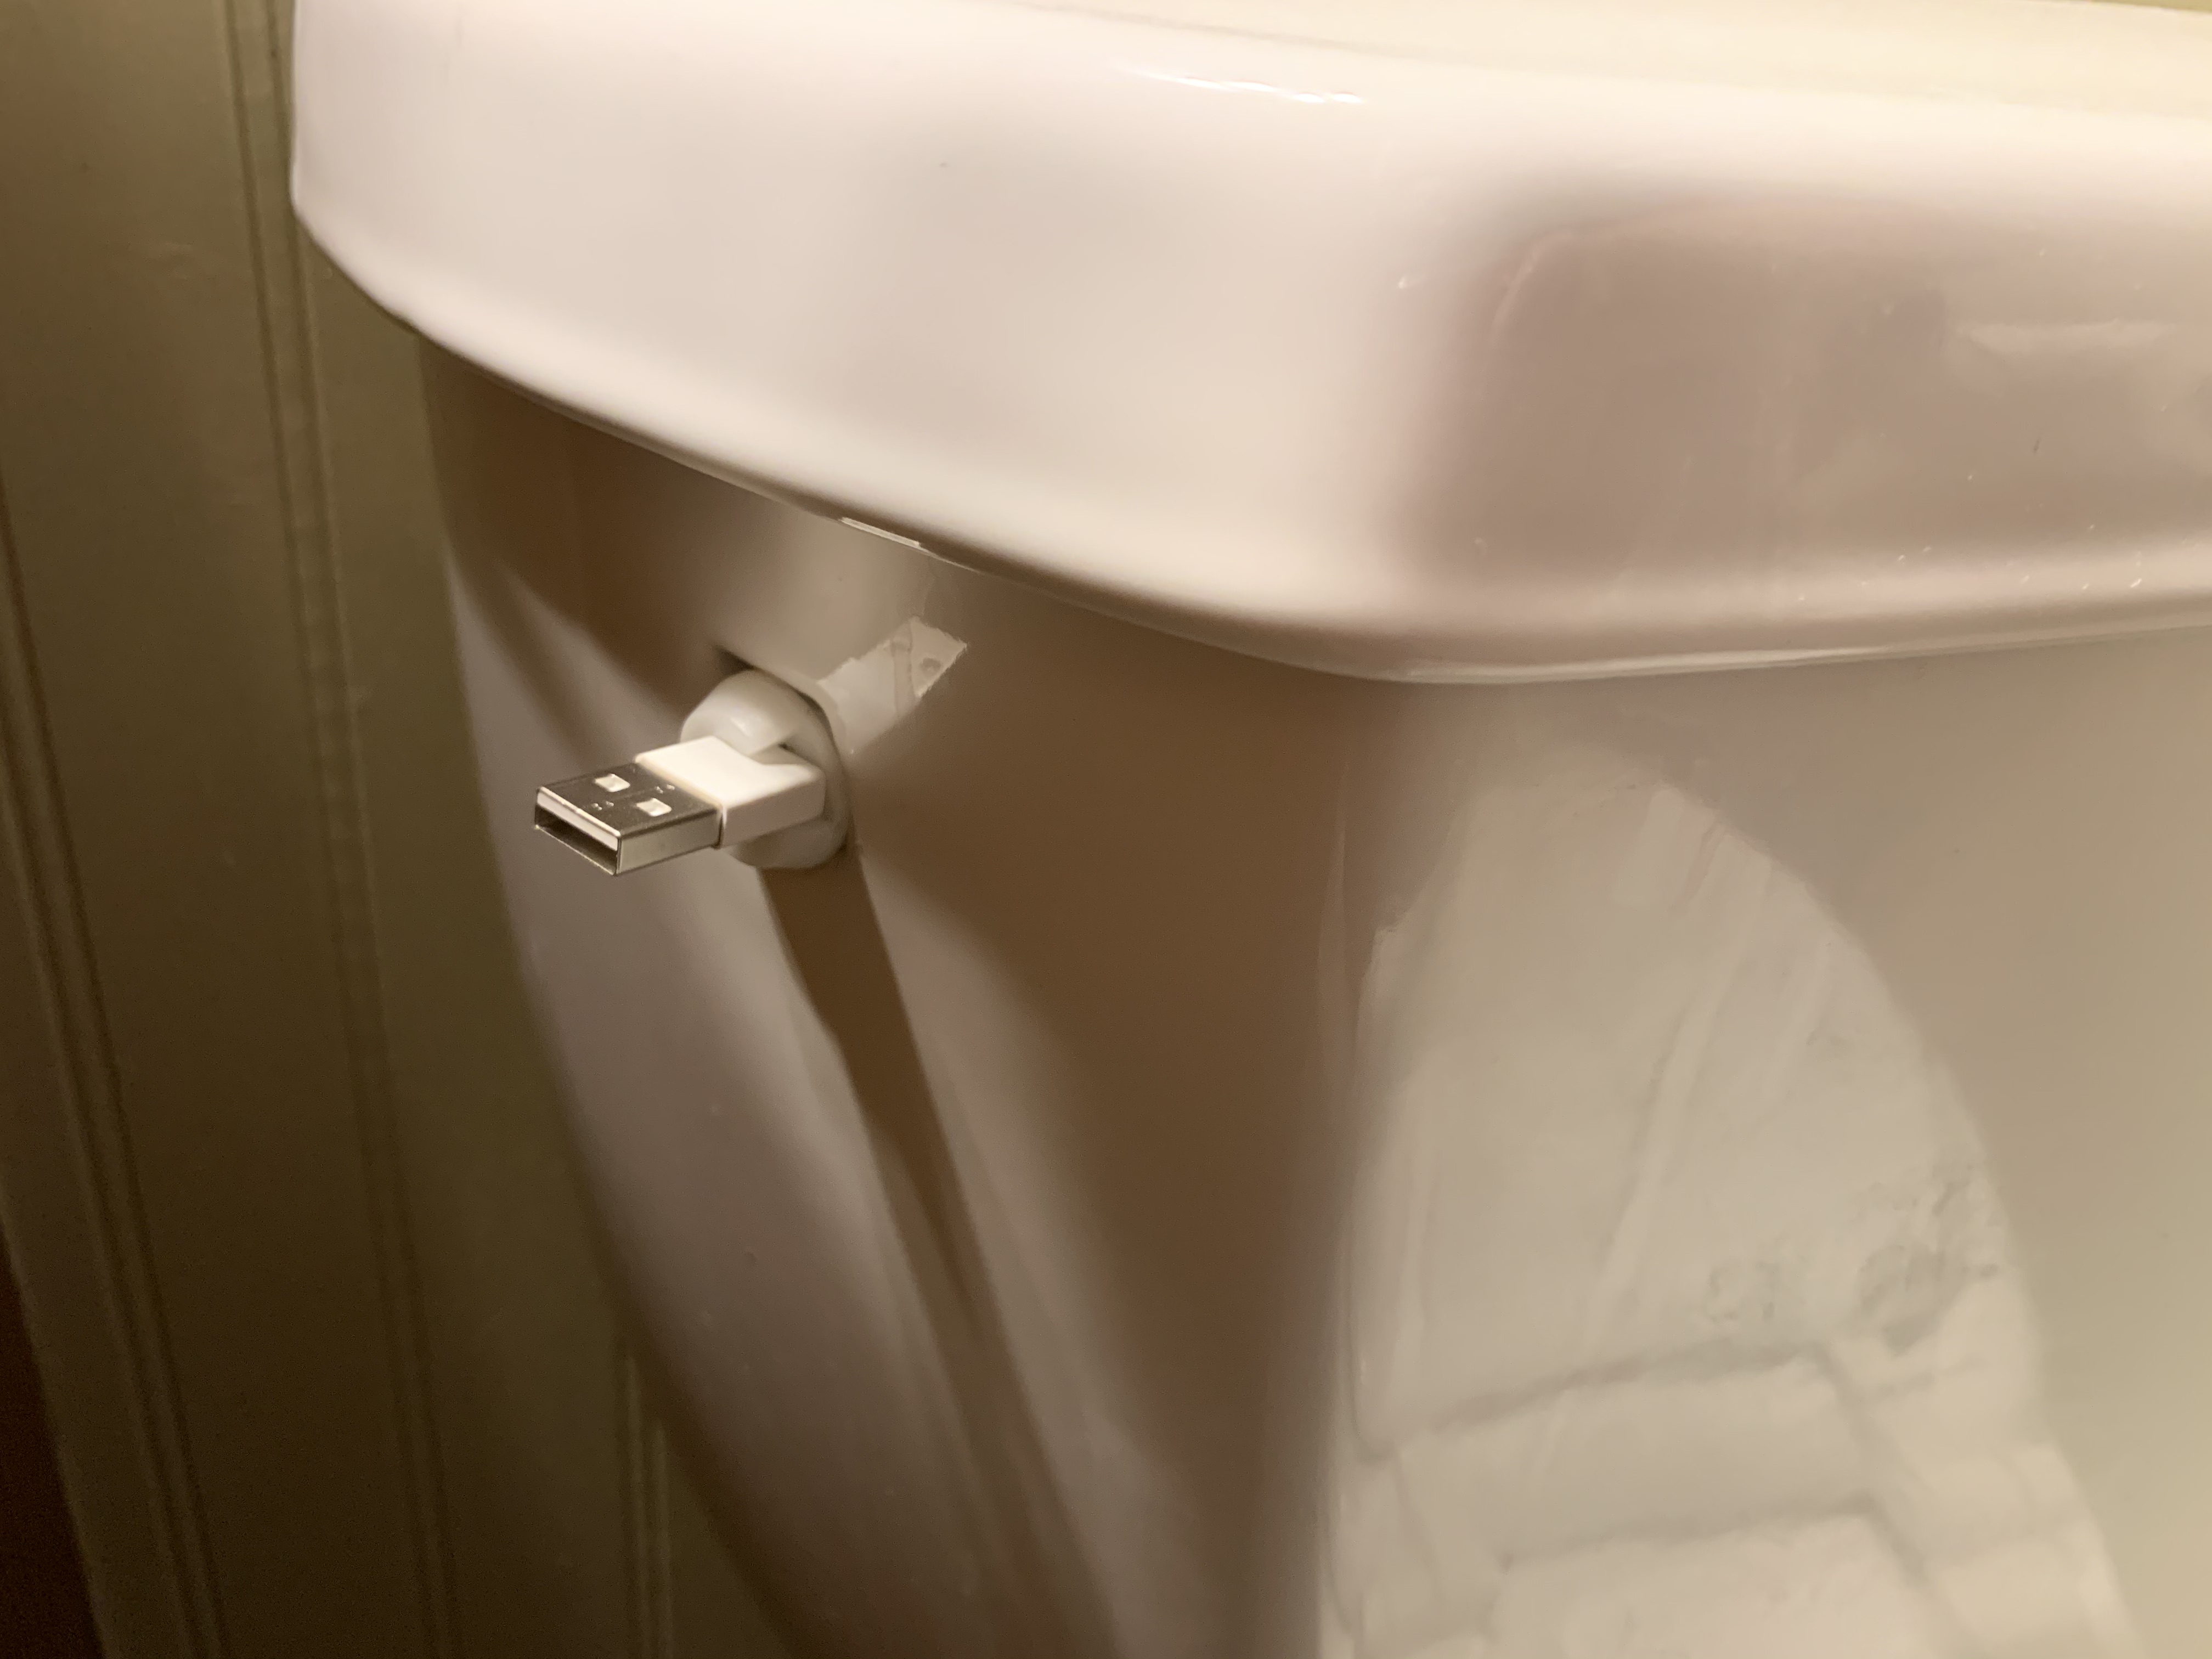
USB Toilet Tank Flush Handle
After the 2nd handle broke on my toilet, I decided that it was finally time to bring my
toilet into the 21st century. As more and more devices adopt Universal Serial Bus (USB)
connectors, it was a quick decision to steer my toilet’s human interface towards this same
cable standard.


Required Hardware
- 1.5 foot or longer USB cable
- 1 regular size safety pin
- Scissors or wire cutter
Steps Taken
- Unscrew the existing side mount toilet handle tank flush lever and disconnect from the rubber flapper chain
- Remove the connector from one end of the USB with the scissors or wire cutter
- Thread the cable through the outer hole left from the tank flush lever that was removed leaving the larger USB connector end on the outside of the tank
- Attach the saftey pin to both the cable and the chain to the rubber flapper. You can either poke the pin through the cable’s insulation or tie a knot around it with the cable.
- Remove any extra cable length not needed so that the cable retracts back into the toilet after flushing is done.
- Examine the completed solution to ensure that the rubber flapper is able to fall back into place to ensure a seal at the completion of each flush.
Additional Notes
*These instructions are for entertainment only and any modifications to your toilet are at your own risk. It is best to seek the advice of a licensed plumber. Please make sure that any changes made
to your toilet do not cause water leaks.
Last modified: 12/31/2022


